Good to see you!
Welcome to Woodgard
Terms and Conditions
Registration complete
Successfully registered, please login
Registration complete
Forgotten your password?
Please enter email address associated to your account
Change Password
Password changed successfully.
Request sent!
Would you spare a minute to answer 3 questions
Thanks!
We will send you colourful news every now and then.
Delete Account

Get It Done: How to treat your garden wood with oil
With Get It Done, we share simple and easy to digest step-by-steps so that you can finish the job in no time. Got some wooden garden furniture that needs a new lease of life? Here’s how to oil your wood and give it a refresh…
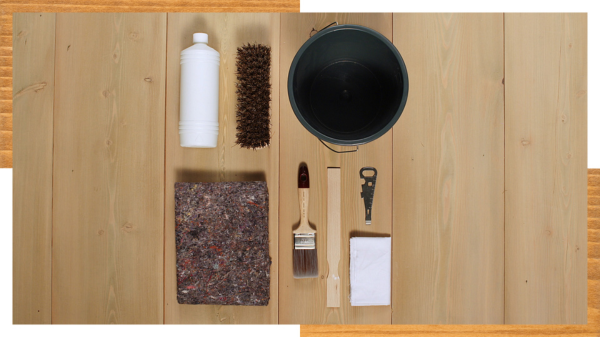
What you need:
● A bottle of cleaner/degreaser
● A scrubber brush
● A large bucket
● A dust sheet
● A paint brush
● A paint stirrer
● A paint can opener
● A cloth to remove excess oil
● A can of Woodgard Timbapreservative
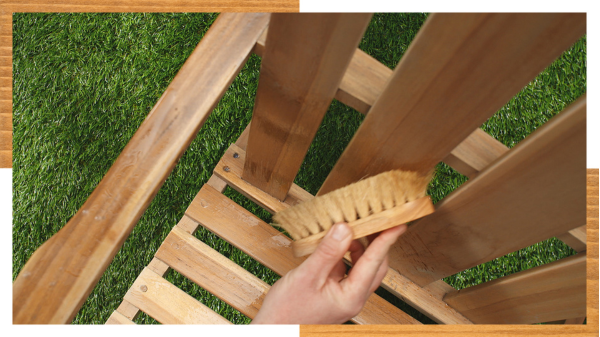
Step 1: Clean the wood
First, it’s important to clean the wood properly so that the oil penetrates the surface evenly when applied. Remove any dirt, algae or fungi from the surface with an appropriate wood cleaner and scrubber brush. Rinse it off with a cloth and leave it to air dry completely. If you start painting before the wood is dry, your oil won’t penetrate and adhere to the wood in order to properly protect it.
Step 2: Get ready to apply
We recommend Woodgard Timbapreservative as it penetrates deeply into the wood enhancing its natural character, whilst providing protection against weather conditions.
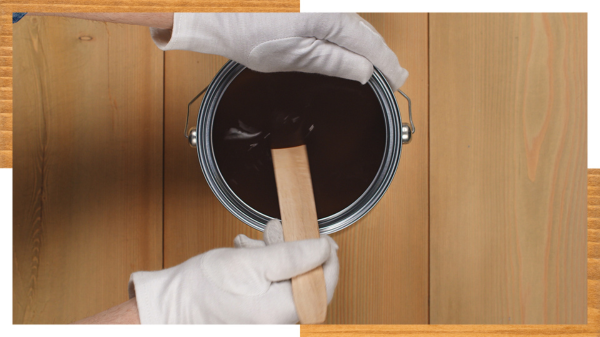
Open the can of oil with a metallic opener and give it a good stir. Stirring properly will give you a consistent color throughout the application, even as you reach the end of the can.
Step 3: Apply the first coat
Apply your first layer of oil using a brush. Only dip the tip of your brush into the oil, not all of the bristles, so that you get a nice even layer. Be sure to apply the oil from left to right in the direction of the wood grain for an even finish. Pay attention to any nooks and crannies.
Leave the first layer to sink in for a few minutes before removing any excess oil with a cloth and allow it to dry completely before applying your next coat. Be sure to check the recommended dry time on the can for best results..
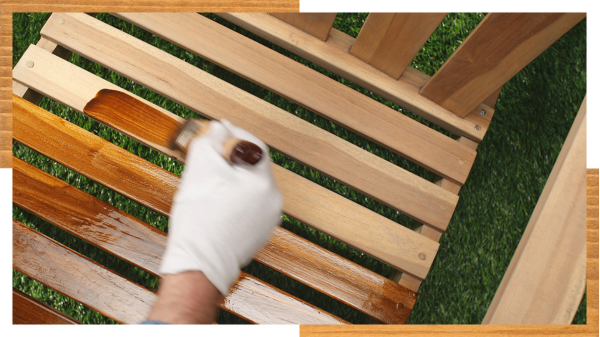
Step 4: Apply the second coat
Apply your first layer of oil using a brush. Only dip the tip of your brush into the oil, not all of the bristles, so that you get a nice even layer. Be sure to apply the oil from left to right in the direction of the wood grain for an even finish. Pay attention to any nooks and crannies.
Leave the first layer to sink in for a few minutes before removing any excess oil with a cloth and allow it to dry completely before applying your next coat. Be sure to check the recommended dry time on the can for best results..
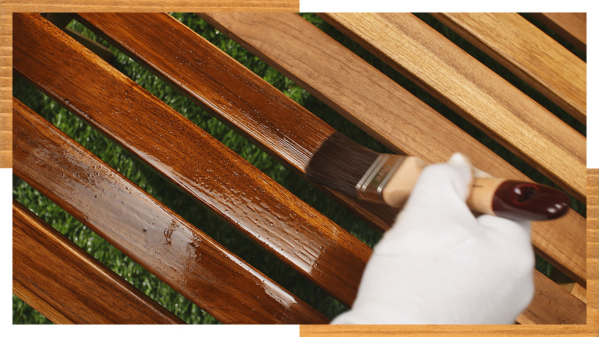
The results
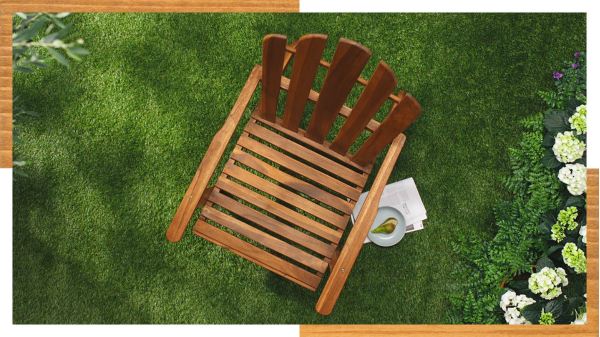
Your garden furniture will look nourished and the natural beauty of wood will be enhanced. It’s also protected against the elements, so you can rest assured that it will stay looking beautiful for longer. Now, all that’s left to do is sit down, pour yourself a cuppa and enjoy the natural beauty of your garden.
